

Is a stuck U joint cap giving you a tough time? Fear not! Today, we’ll explore an easy and effective way to handle this common issue. With a few simple steps, you can remove a stuck U joint cap. No need for a trip to the mechanic!

Credit: m.youtube.com
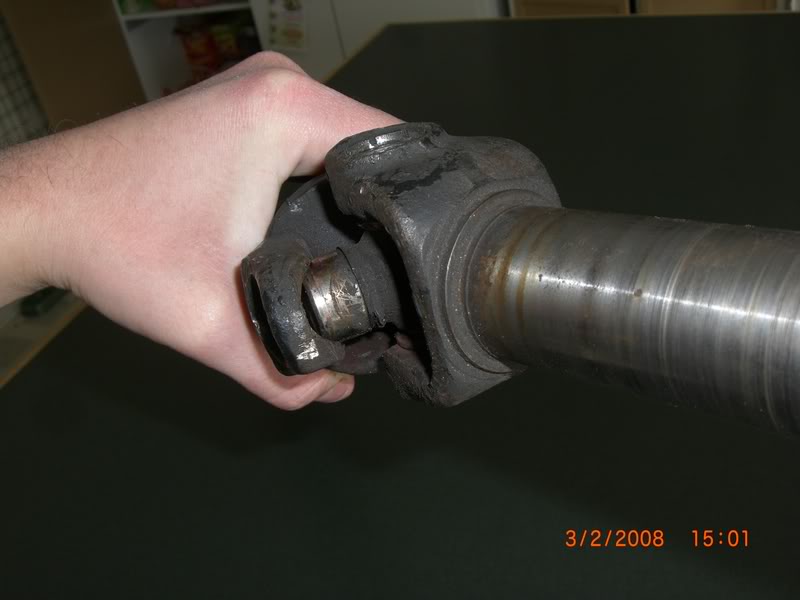
Understanding U Joints and Their Caps
U joints, or universal joints, are an important part of a vehicle’s driveshaft. They let the driveshaft bend while turning. The caps keep the U joint in place. Sometimes, these caps can get stuck. Here is how to safely take them out.
Credit: www.rx7club.com
Tools You Will Need
- A vise or a set of locking pliers
- A hammer (a small one will do)
- Penetrating oil (like WD-40)
- A torch (for heating)
The Removal Process
- Secure the U Joint.
First, you need to hold the U joint steadily. You can do this by clamping it in a vise. If a vise isn’t available, use locking pliers.
- Apply Penetrating Oil.
Spray the stuck caps with penetrating oil. Let it soak in for a few minutes. It will make removing them easier as it loosens rust.
- Heat the Caps (If Needed).
If the caps are still stuck, gently heat them with a torch. Heat makes metal expand. It helps to break the bond formed by rust. Keep the heat directed at the caps and not the U joint itself.
- Tap Gently with a Hammer.
Now, lightly tap around the cap’s edge with a hammer. This helps the penetrating oil seep in further and may free the cap. Always wear safety glasses while doing this.
- Twisting the Cap.
Try to twist the cap back and forth. Use a small wrench if you can. The twisting may break any rust holding it in place.
- Cool Down to Contract.
If you used heat, let the cap cool. As it cools, it will contract. This might help it break free.
- Try Tapping Again.
Give the cap another series of gentle taps. Focus on different angles. This may finally release it.
Things to Remember
Removing U joint caps can be tough, but patience is key. Never hit the cap too hard. It might damage the U joint. If it still won’t come off, it might be time to seek a professional.
Replacing the U Joint Cap
When you get the old cap off, you need a new one in its place. Make sure you get the right size for your vehicle. Here’s how to install a new U joint cap:
- Clean the U Joint.
Clean the area where the cap goes. Wipe out any rust or debris.
- Lubricate.
Apply grease to the new cap and U joint. It helps the cap slide in and turn smoothly.
- Press the Cap In.
Carefully press the new cap into place. You can tap it gently with a hammer if needed. Just be sure not to bend anything.
- Check for Free Movement.
Finally, move the U joint around by hand. It should move freely without sticking.
Now your vehicle is ready to go with a new U joint cap. No more annoying stuck cap!
Frequently Asked Questions On How To Remove Stuck U Joint Caps
What Is A U Joint Cap?
A U joint cap, or Universal joint cap, is a crucial component of a vehicle’s driveshaft that encases the needle bearings and connects to the cross-piece.
Why Do U Joint Caps Get Stuck?
U joint caps can seize due to rust, corrosion, or debris, making them difficult to remove without proper techniques or tools.
What Tools Are Needed To Remove A Stuck U Joint Cap?
Common tools for removing stuck U joint caps include a vise, hammer, punch tool, and sometimes heat or a press.
Can I Remove A Stuck U Joint Cap At Home?
Yes, with the right tools and following safety precautions, you can remove a stuck U joint cap at home.
Conclusion
That’s all you need to know to handle a stuck U joint cap! Always remember, safety first. If something feels too tough, ask for help. Vehicles can be complicated, but with the right steps, you can fix many issues on your own. Happy repairing!


