

To install Rain X Latitude Wiper Blades, first remove the pre-installed connector and attach the new connector. Then, install the blade and remove the protective cover.
It is important to ensure that your windshield is clean and dry before activating the Rain X water-repellency technology. Welcome to our guide on how to install Rain X Latitude Wiper Blades. Whether you’re based in Austin, Texas, or anywhere else in the United States, these step-by-step instructions will help you easily install your new wiper blades.
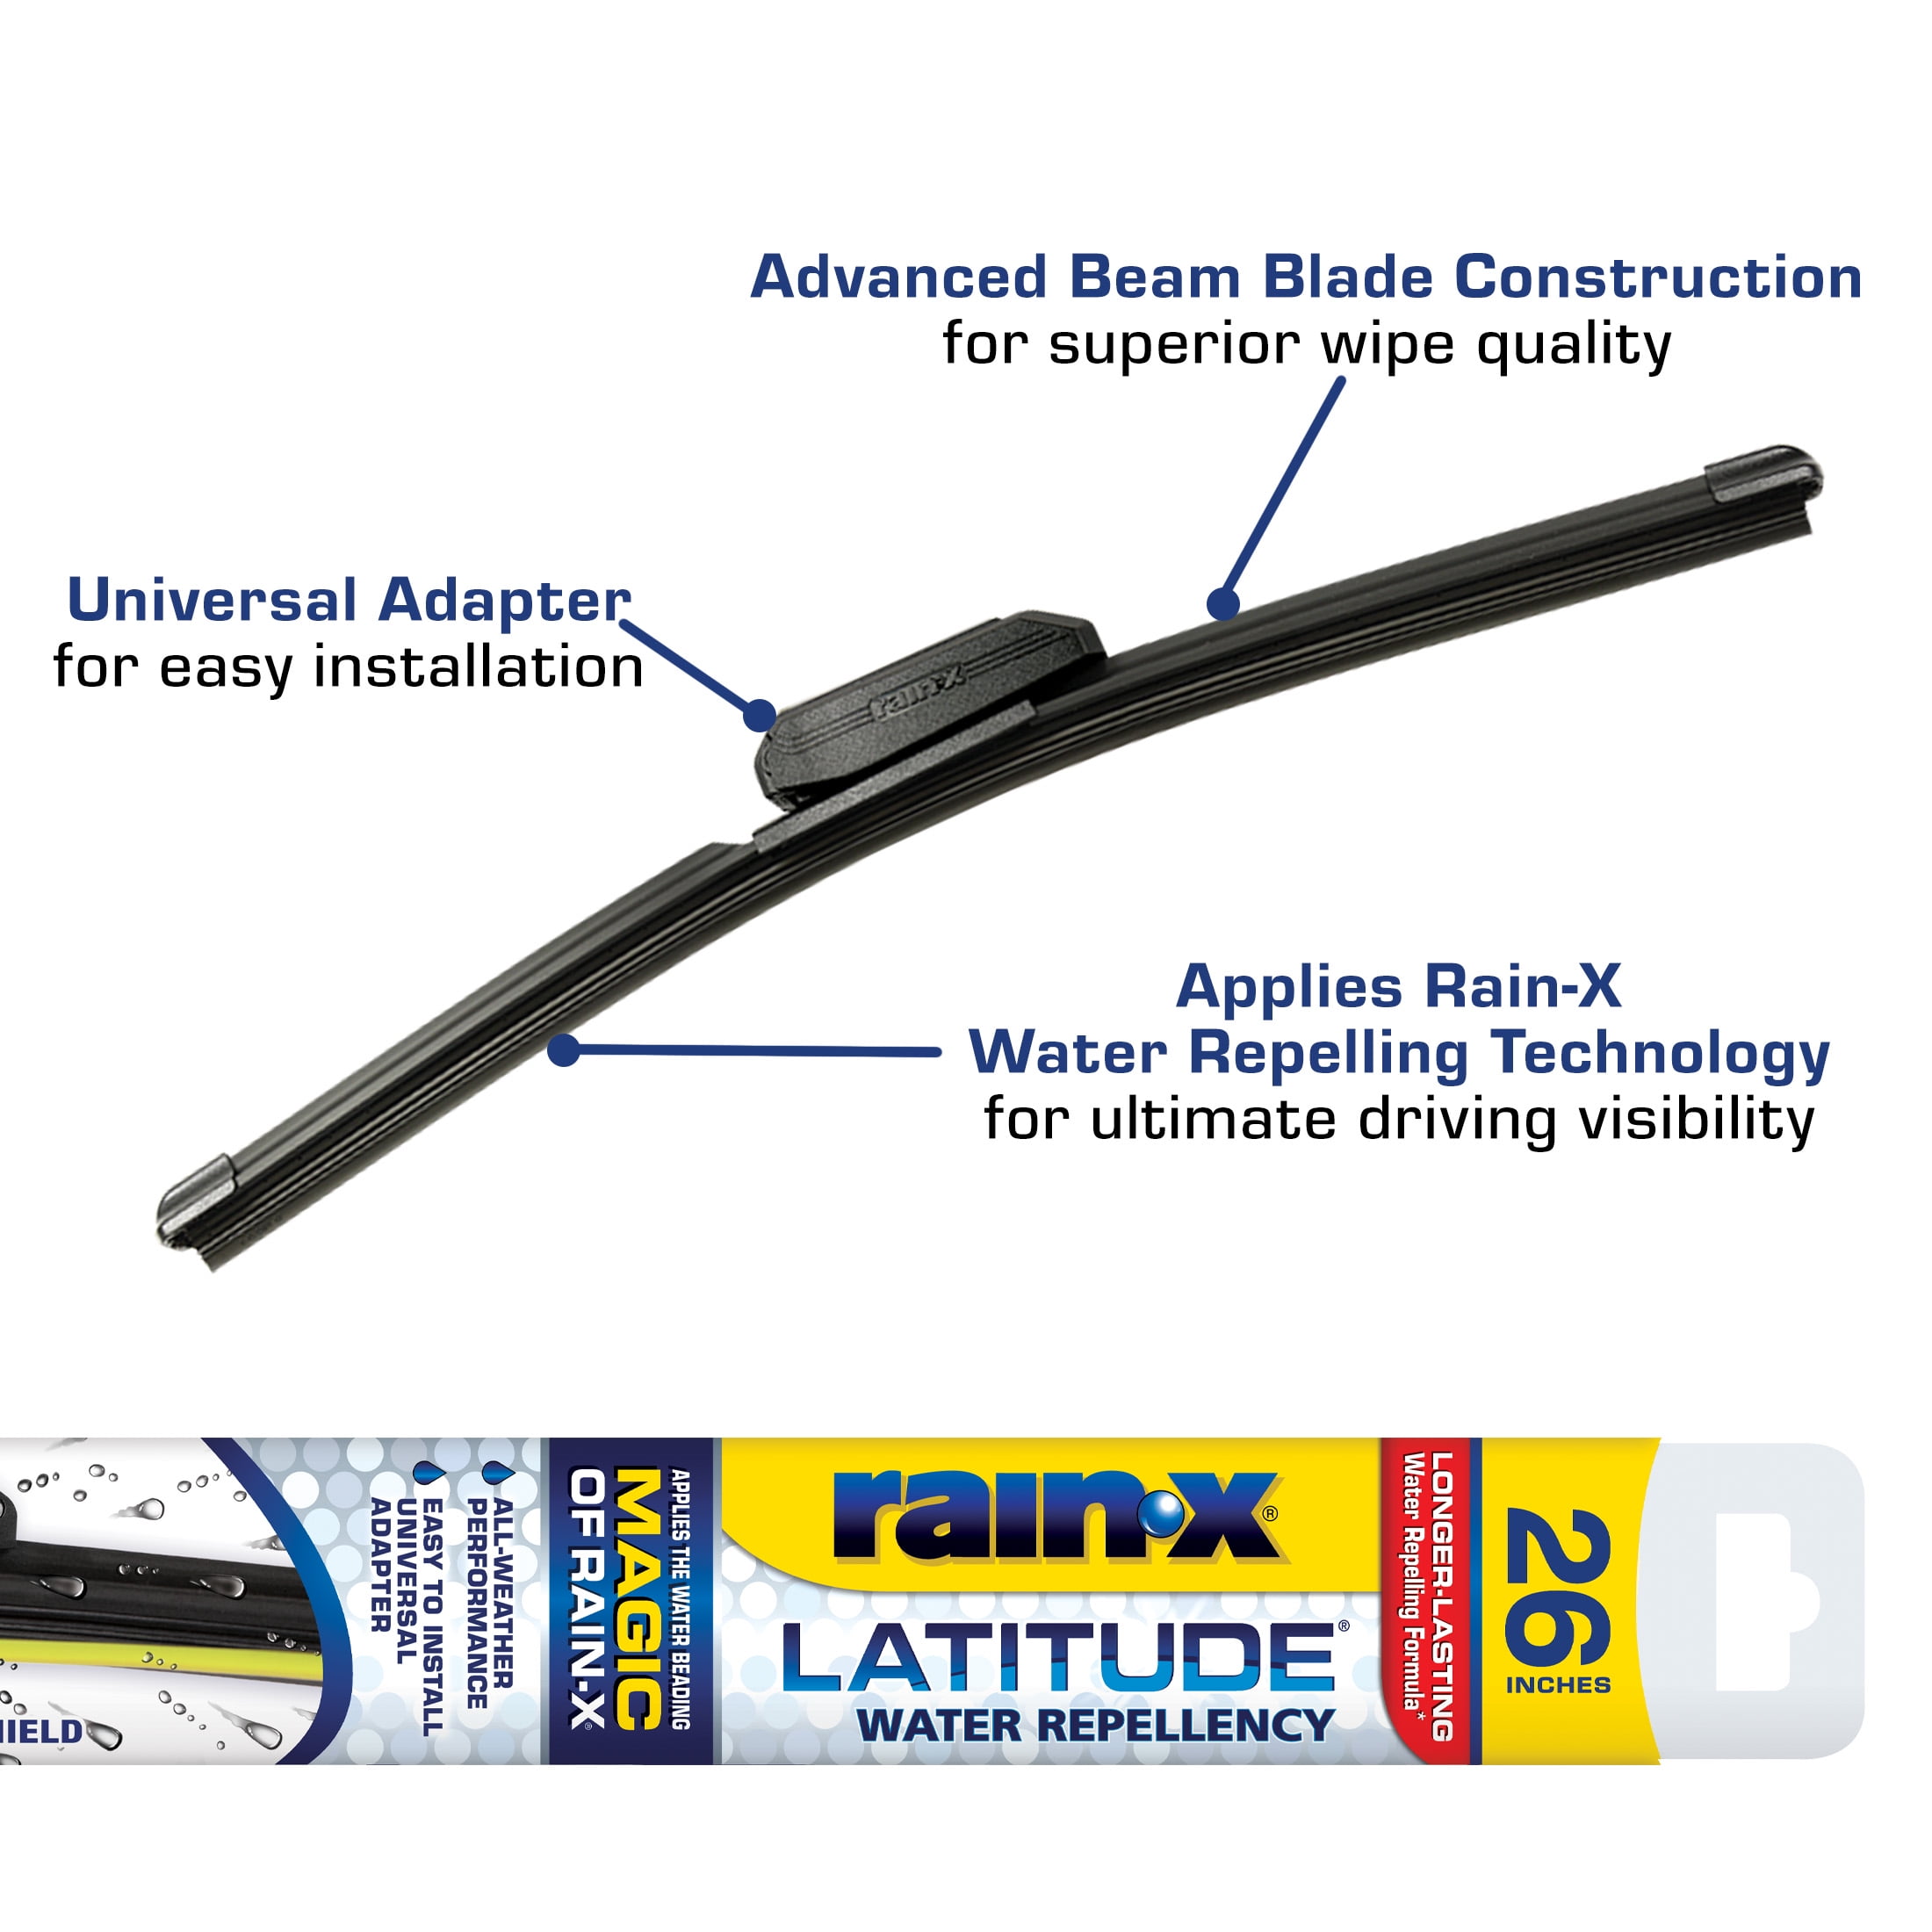
Rain X Latitude Wiper Blades are known for their water-repellency technology, which improves visibility during rain showers. In this guide, we’ll walk you through the installation process, including how to remove the pre-installed connector, attach the new connector, and install the blade itself. By following these simple steps, you’ll have your Rain X Latitude Wiper Blades installed and ready to improve your driving experience in no time.
Credit: www.youtube.com
Step-by-step Installation Guide
Preparing for Installation:
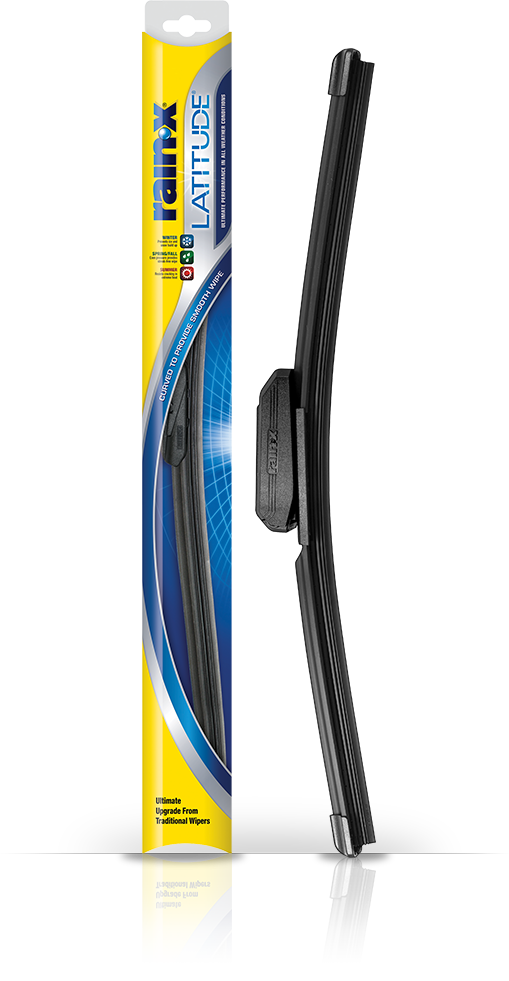
1. Start by making sure you have the Rain X Latitude Wiper Blades that are compatible with your vehicle model.
2. Park your car in a safe and well-lit area to have easy access to the windshield.
3. Turn off the ignition and remove the key to avoid any accidental damage.
4. Lift the wiper arm away from the windshield and locate the release tab.
5. Press the release tab and carefully detach the pre-installed connector from the wiper arm.
Attaching New Connector:
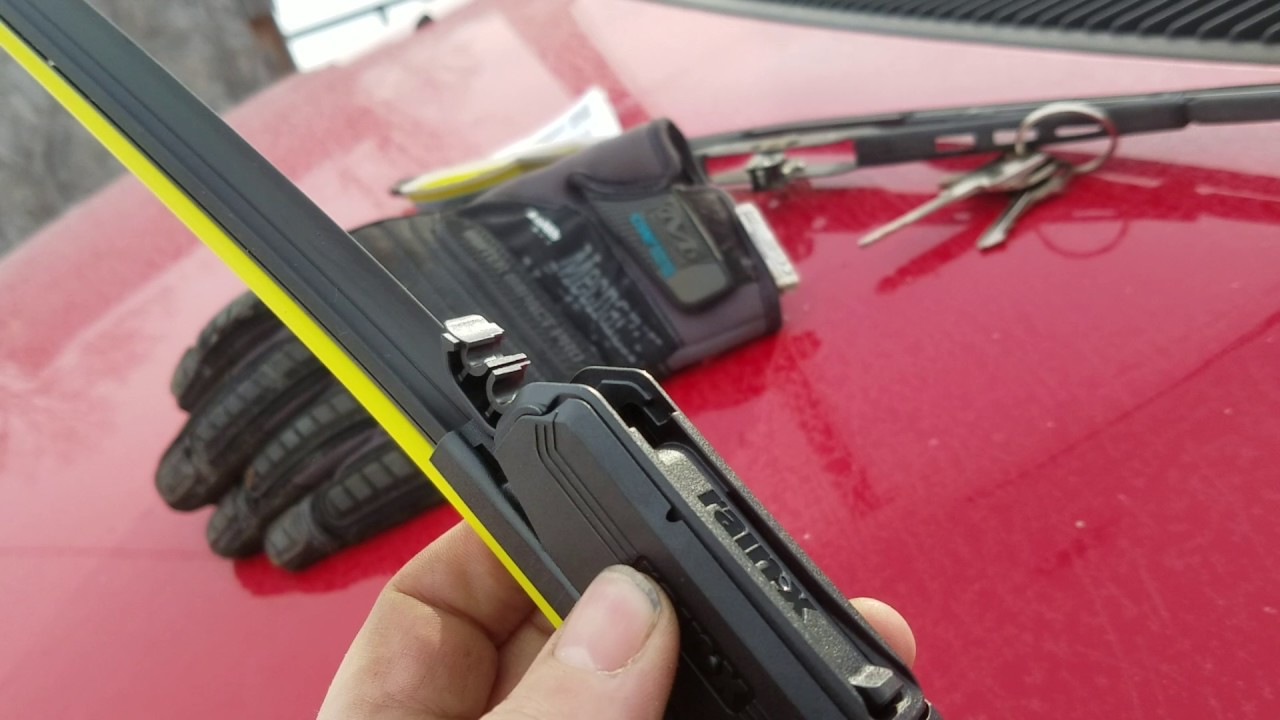
1. Take the new Rain X Latitude Wiper Blade and locate the correct connector for your vehicle’s wiper arm.
2. Align the connector with the wiper arm attachment point.
3. Firmly push the connector onto the wiper arm until it locks into place.
Installing the Blade:
1. Take the Rain X Latitude Wiper Blade and position it onto the connector.
2. Ensure that the end of the blade is properly aligned with the end of the windshield.
3. Firmly press the wiper blade onto the connector until it clicks into place.
Removing Protective Cover:
1. Locate the protective cover on the Rain X Latitude Wiper Blade.
2. Carefully peel off the cover, being cautious not to touch the actual blade.
Activating Rain-X Water Repellency:
1. Finally, activate the Rain-X water repellency feature by ensuring your windshield is clean and dry.
2. Follow the instructions provided by Rain-X to activate the water-repellent coating on your windshield.
By following these step-by-step instructions, you can easily install Rain X Latitude Wiper Blades on your vehicle.
Credit: www.walmart.com
Tips And Troubleshooting
When it comes to installing Rain X Latitude wiper blades, there are a few tips and troubleshooting techniques that can help you along the way. Here are some frequently asked questions and common issues that you may encounter:
- How do you remove the Rain-X Latitude wiper blades? The process of removing the blades is fairly straightforward. Follow the instructions provided by Rain-X or refer to installation videos on YouTube for a step-by-step guide.
- Are Rain-X Latitude wipers good? Yes, Rain-X Latitude wipers are highly regarded for their performance. These blades provide excellent visibility and are designed to withstand various weather conditions.
- What are some maintenance tips for longevity? To extend the lifespan of your Rain X Latitude wiper blades, make sure to clean them regularly. Use a soft cloth or sponge to remove dirt and debris. Additionally, avoid using the wipers on a dry windshield as this can cause damage to the blades.
By following these tips and troubleshooting techniques, you can ensure a smooth installation process and maximize the lifespan of your Rain X Latitude wiper blades.
Credit: www.rainx.com
Frequently Asked Questions For How To Install Rain X Latitude Wiper Blades
How To Install Rain-x Latitude Wiper Blades On Small J Hook?
To install Rain-X Latitude wiper blades on a small J hook: 1. Remove the pre-installed connector. 2. Attach the new connector. 3. Install the blade. 4. Remove the protective cover. 5. Lower the wiper arm onto the windshield.
How Do You Remove The Rain-x Latitude Wiper Blades?
To remove Rain-X Latitude wiper blades, follow these steps:1. Lift the wiper arm away from the windshield. 2. Locate the small tab or latch on the wiper blade. 3. Press the tab or latch and slide the wiper blade downwards to release it.
4. Repeat the process for the other wiper blade. 5. Dispose of the old wiper blades properly. Note: Make sure to consult the product’s instructions for specific details.
How To Install Rain-x Latitude Wiper Blades On Honda Civic?
To install Rain-X Latitude wiper blades on a Honda Civic, follow these steps:1. Remove the pre-installed connector. 2. Attach the new connector. 3. Install the blade. 4. Remove the protective cover. For a visual guide, you can watch videos on YouTube for Rain-X Latitude wiper blade installation.
Make sure to activate the Rain-X Water Repellency for better performance.
Are Rain-x Latitude Wipers Good?
Rain-X Latitude wipers are good, as they lay flat against the windshield and provide effective coverage. Some reviewers mention issues with snow/ice clearance, but overall, they perform well.
Conclusion
Installing Rain X Latitude wiper blades is a simple and straightforward process. By following the step-by-step instructions provided in this guide, you can easily replace your old wiper blades with the Rain X Latitude for improved visibility and efficient windshield wiping.
Remember to remove the pre-installed connector, attach the new connector, and install the blade properly by removing the protective cover. With Rain X Latitude wiper blades, you can ensure a clean and clear windshield, allowing you to drive safely in any weather conditions.


